Here you'll find how-to guides and frequently asked questions for the KINETIC LAB-Link dedicated sensor and AI coaching. Ask the AI a question, or browse the categories below.
Browse by category
Organized into 10 categories. Tap an item to jump to its list of questions.
For the 5 points — scalene muscle, lateral chest, anatomical snuffbox, patellar ligament, and behind the medial malleolus — where you place the sensor really matters. Our illustrated guide shows the correct location and technique for all 10 points on both sides.
Open the measurement guideAll questions
Organized by category. Tap a question to open its answer.
KINETIC LAB-Link runs in your smartphone browser — no app installation required. Please have the following ready before you begin.
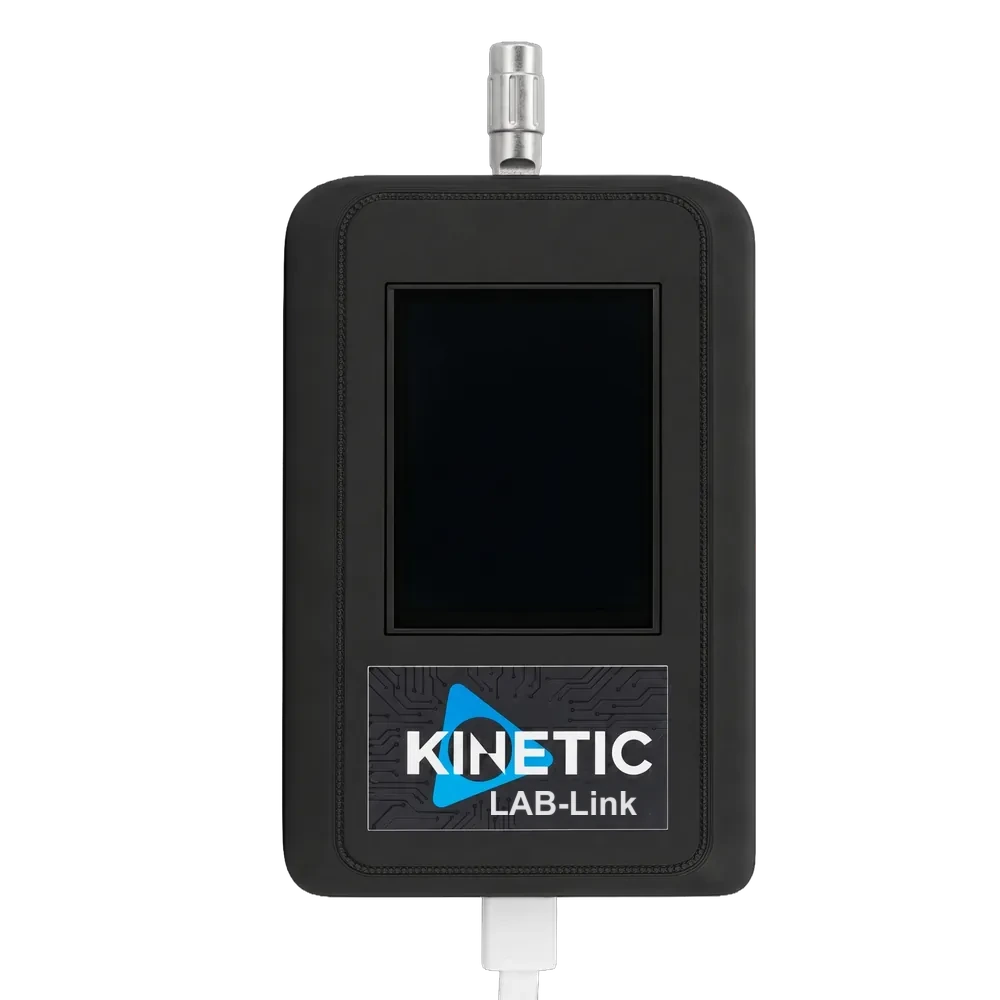
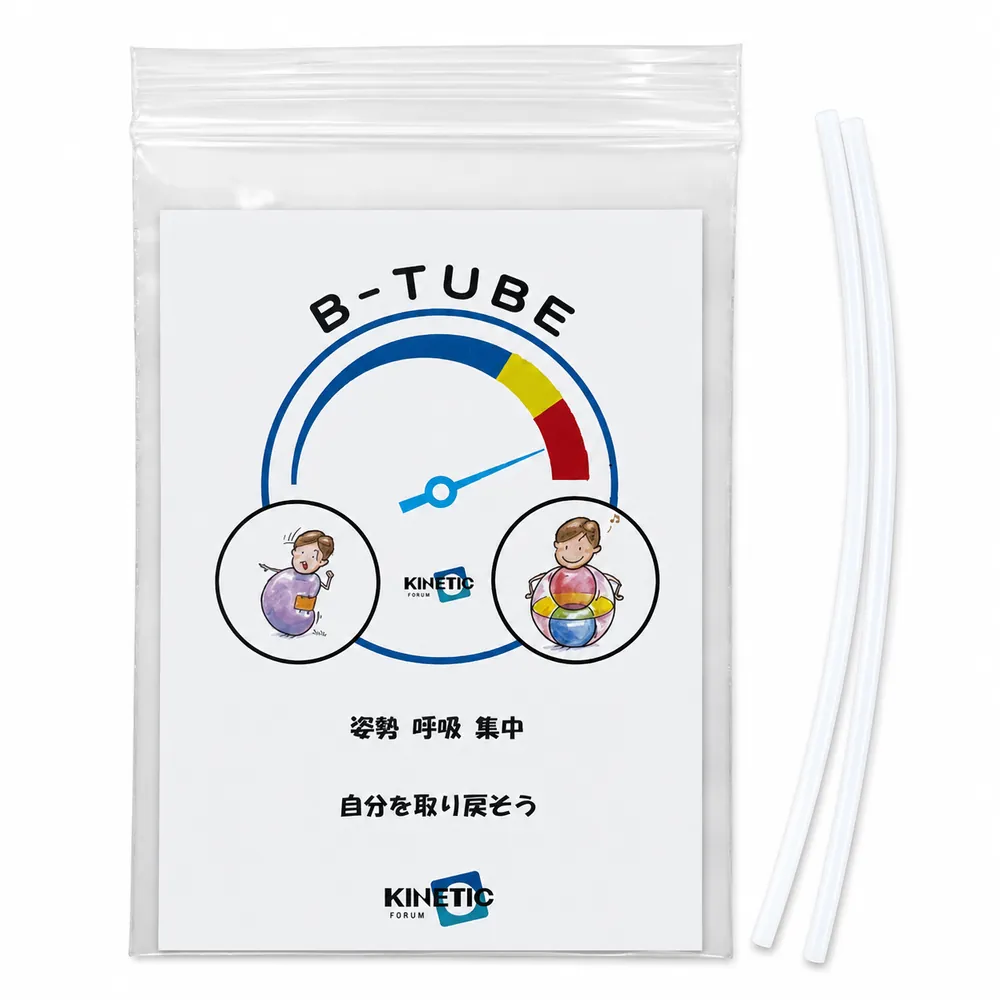
Included in the box: the dedicated sensor, Quick Start Guide, User Manual, and B-TUBE (2× size S, 2× size M).
Initial registration requires a Google account or an Apple account. It takes just three steps.
Finally, enter the activation code delivered by email to complete registration.
The activation code is sent separately by email after you order online. It is delivered to the email address used for your order.
If you don't have an AI coaching code yet, please purchase one from the KINETIC LAB STORE and then register.
No. The activation code is required for initial registration, and AI coaching cannot be used without it. The code-entry step cannot be skipped.
If you don't have a code, purchase AI coaching from the KINETIC LAB STORE and a code will be issued to you by email.
Once you enter the code, you can carry over your past measurement data.
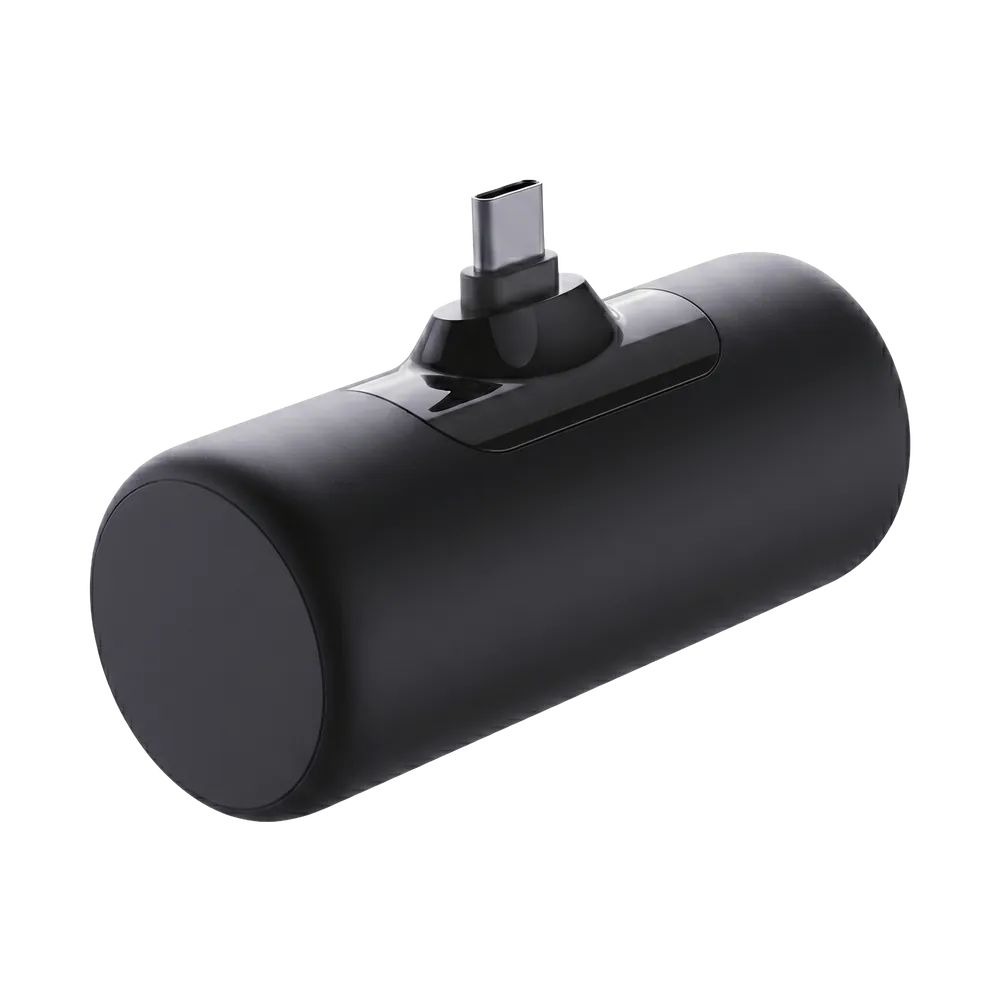
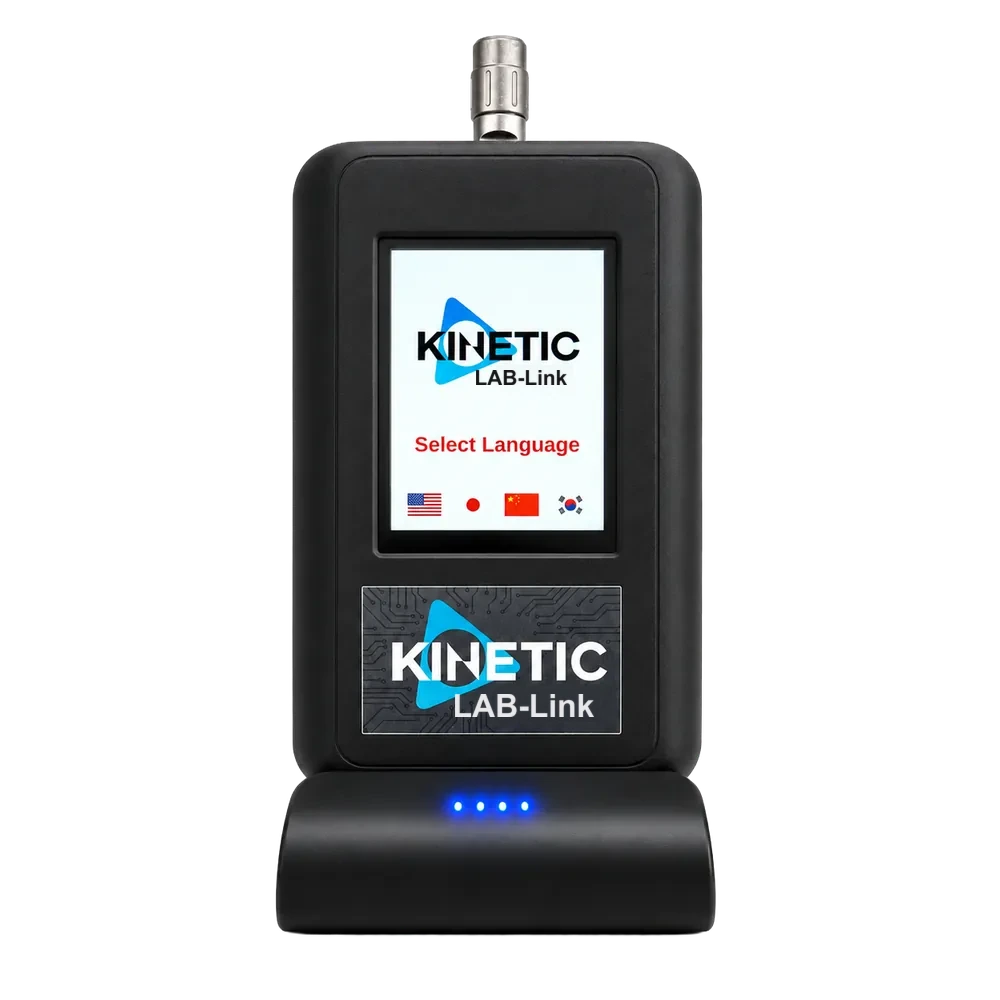
Connect the dedicated sensor and the external battery with a USB-C cable. When the sensor's LCD screen lights up, it is ready to measure.
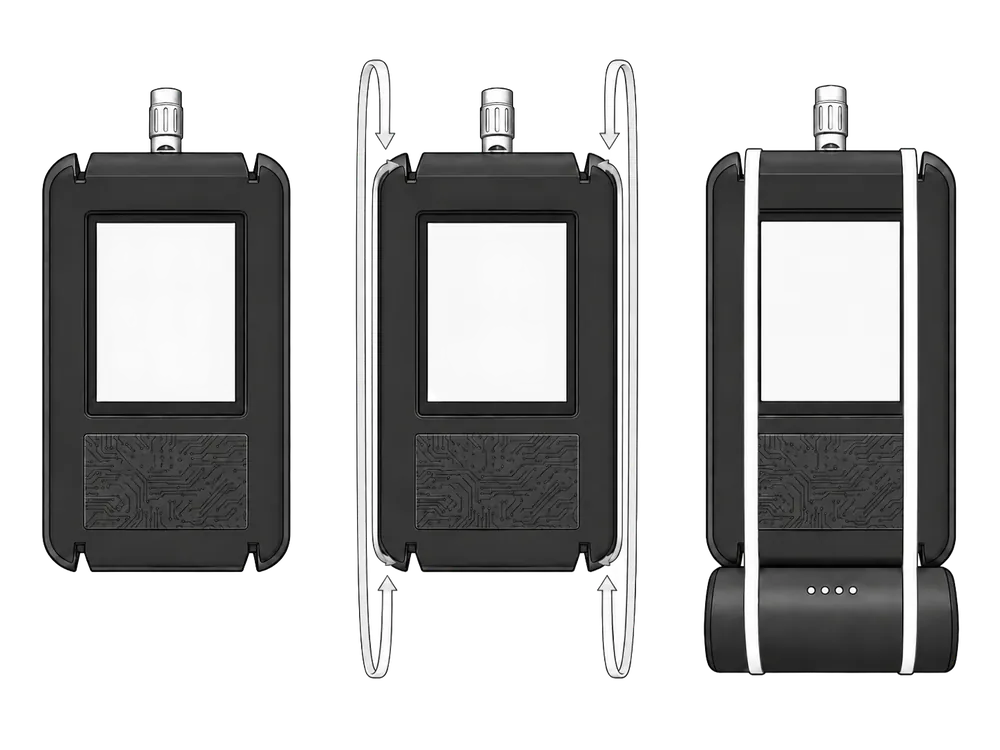
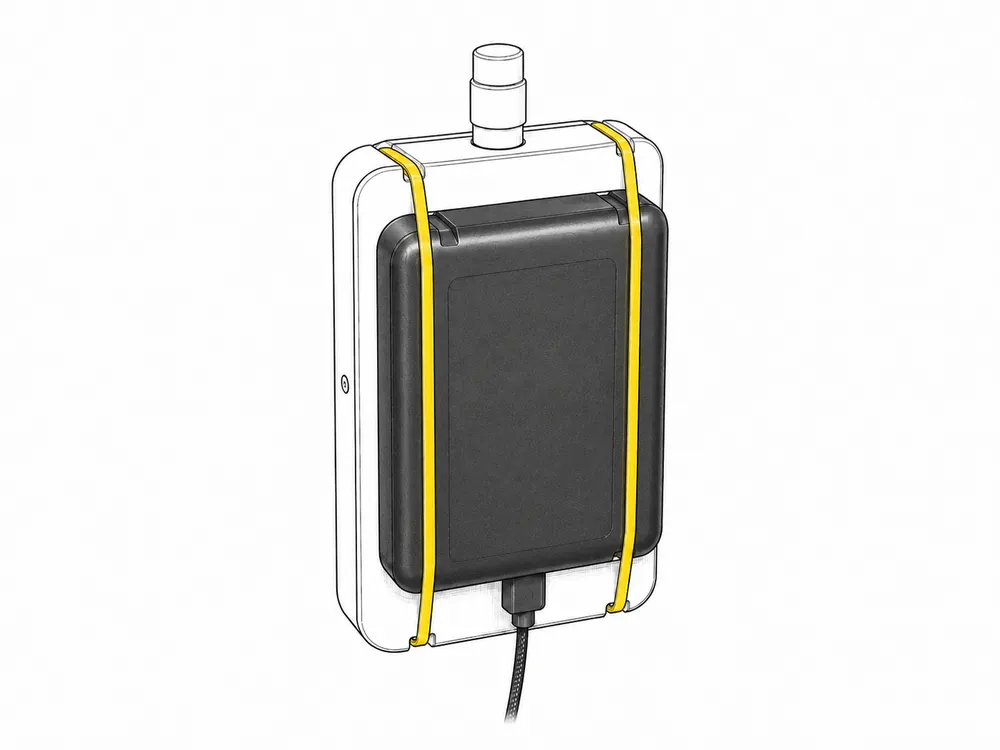
Thread a rubber band through the slits on the top and bottom sides of the unit to secure the external battery to the back or bottom of the sensor. This keeps the battery from dangling during measurement so you can measure steadily.
Before you start measuring, please check the following two things.
Measurement takes some time. Don't rush — operate slowly and calmly.
You measure 5 points on each side — 10 in total. Measure from the top of the body (the head) downward, in the order 1 → 2 → 3 → 4 → 5 → 6 → 7 → 8 → 9 → 10.
The 5 measurement points (scalene muscle / lateral chest / anatomical snuffbox / patellar ligament / behind the medial malleolus) have exact locations on the body. Please see the detailed illustrated guide.
▶ Body Scan Measurement Guide (the 5 points explained with illustrations)
Place the silver-and-black sensor tip gently into the hollow at each measurement point. There is no need to press hard.
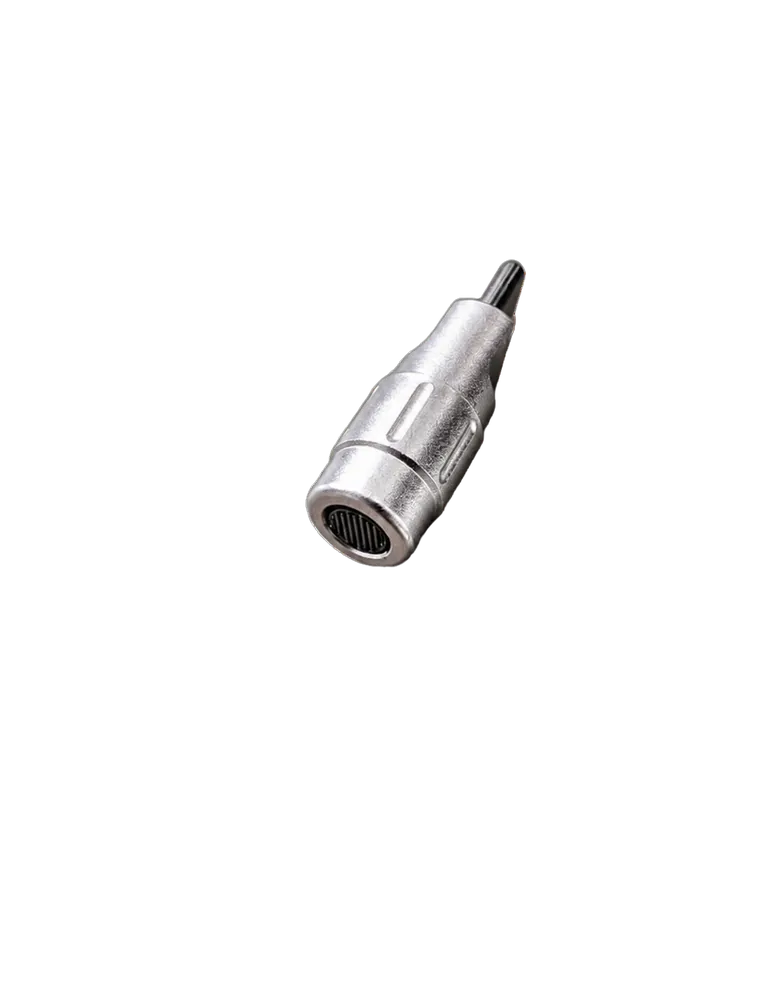
Measure behind the sternocleidomastoid muscle (the posterior triangle of the neck), in the hollow just above the collarbone. The hollow just above the collarbone, on the side of the neck, is your landmark.
Measure under the arm, at the middle of the side of the ribcage, slightly above the line connecting the left and right nipples.
Measure the hollow that forms on the thumb side of the wrist when you gently spread your thumb. This hollow is the "anatomical snuffbox."
Measure the ligament just below the patella (kneecap) that runs to the shinbone. The cord-like part below the kneecap is your landmark.
Measure behind the inner ankle bone (medial malleolus), in the hollow between it and the Achilles tendon.
▶ See the location behind the medial malleolus with illustrations
By the nature of the sensor, the surface condition of your skin (moisture, oils, chemicals) can cause measurement errors or fluctuating data. Always check the following before measuring.
No. Sweat on the skin prevents an accurate reading. Always wipe sweat completely off with a dry towel or paper at the measurement area before measuring.
In extremely dry regions or environments, measurement may fail to start or error out with the default settings.
In most cases this is because sweat or skin proteins (sebum) have built up on the sensor tip, keeping the sensor reacting. If the measurement stalls, wipe the sensor tip with a tissue after every measurement. An alcohol wipe works even better.
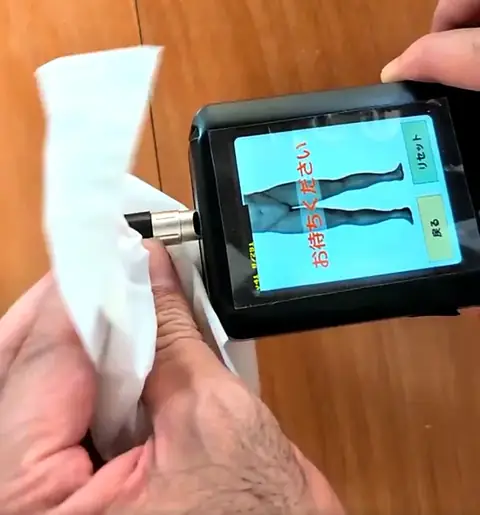
At a spot with a prosthetic limb or cast, press the "Reset" button on the sensor screen, then select/confirm "Set to 0" before continuing to measure.
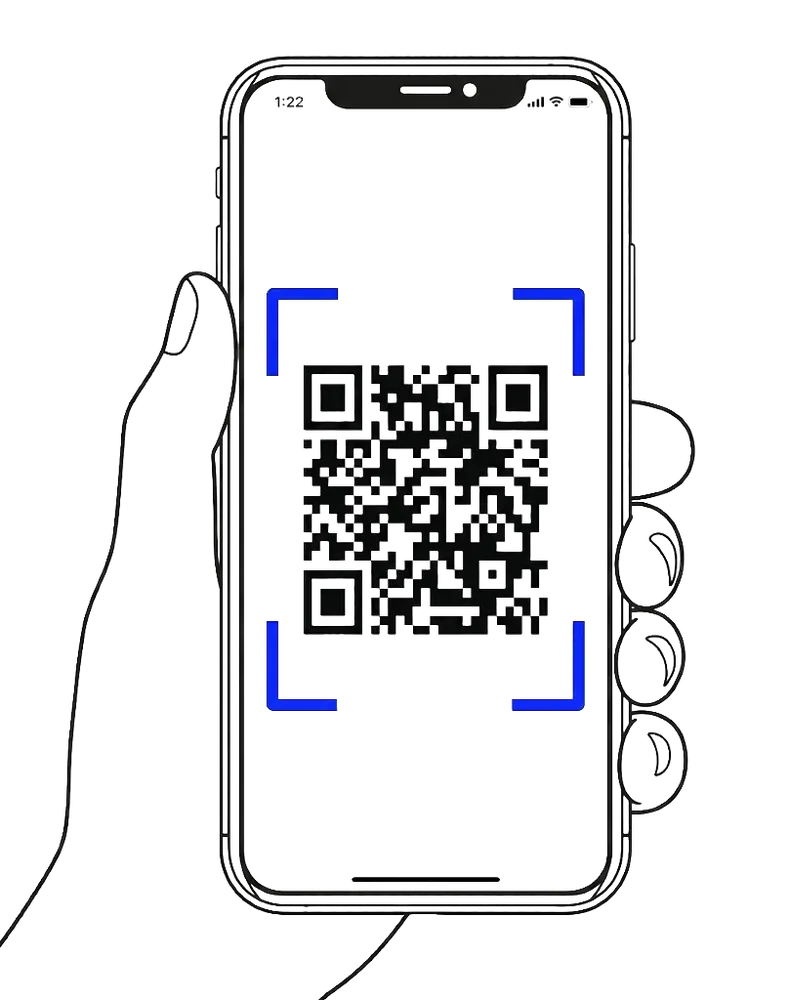
After measuring, use "QR scan" in the browser where you are logged in to AI coaching to read the QR code shown on the sensor's LCD. Once the scan completes, your measurement data is sent to AI coaching.
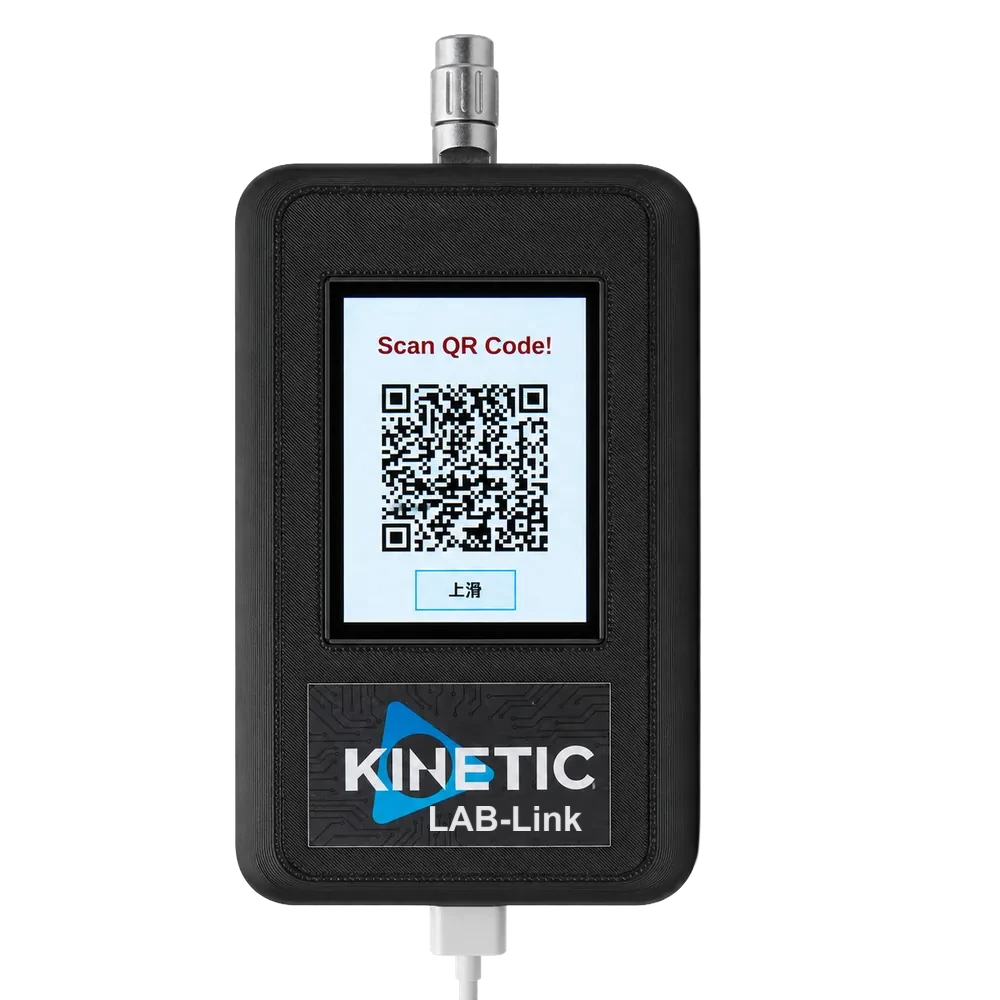
Scanning the QR code requires that your smartphone is connected to the internet and that you are logged in to AI coaching. Then check the following.
The Score expresses, as a number, how well the day's natural environment (season, moon phase, etc.) matches your body's condition that day. A higher number means your body is more in sync with the natural environment.
The 3D body model shown on Home and in "Today's exercise & breathing guidance" is greatly exaggerated to make the tendencies of your body's imbalance easy to see. It does not mean your actual body looks exactly like this.
All of them are shown on the AI coaching Home.
Open "History" in the AI coaching bottom menu to see the daily Score and its trend.
For the 10-day / 30-day / 180-day analysis, use the "Analyze your progress so far" button under "Progress so far" at the bottom of Home.
We recommend measuring and doing the breathing method every day. Home → "Streak" shows your consecutive days and total count. Skipping days is not a problem — once you resume, it is reflected in your streak.
There is no set time of day. Choose a time when you can measure calmly, with sweat wiped off and no sunscreen, antiperspirant or cream on the skin (see "Is there any preparation for accurate measurement?").
If several people share one account, everyone's body-balance data and measurement results get mixed into a single history, and the AI can no longer recognize your true condition. This leads to incorrect analysis and inappropriate exercise recommendations.
Based on your measurement data, you receive body-balance analysis plus advice and exercise suggestions tailored to your condition. You can also consult it about physical concerns or improving your performance.
AI advice is an AI coach that advises you, based on the BC Total Balance System, while referring to your measurement results and today's condition.
It can answer
It cannot answer (contact us / use the app screens)
AI answers are for reference. Check in this order.
Each 5B exercise (BREATH / BAR / BOARD / BASE TRUNK / BRIDGE) has a guideline time and a guideline number of repetitions, but these are only guidelines. What matters most is that you feel your own body and adjust the time and the number of repetitions yourself as you go.
Matching the numbers is not the goal. How your own body feels is the primary guide.
Take the pose shown on the AI-coaching screen. Pay attention to these three points:
See the videos below for the posture points and a demonstration.
This is not an instruction about your posture during measurement. It is the pose instruction for the breathing method and exercise, shown in steps ① and ③ of "Today's exercise and breathing guidance" after your measurement.
When you take a pose like this, first settle into the pose shown on the body model, then hold still for about 15 seconds and feel your body.
Trying to spread your fingers puts tension into the palm. Focus on letting the palm itself, not the fingers, spread out freely.
The same goes for the feet: trying to spread the toes tenses the sole, so focus on letting the sole itself, not the toes, spread out freely.
The B-TUBE (dedicated tube) comes in three sizes: S, M and L (S×2 and M×2 are included). The size to use each day is shown on the AI coaching Home under "Today's breathing" — follow that instruction.
▶ Breathing guide (main video and explanatory videos)
Additional B-TUBEs are available at the KINETIC LAB STORE.
About 5 repetitions (one inhale + one exhale = one repetition) as a guide. The number is only a guide. Adjust it freely by how your body feels.
Stopping after a single repetition is fine, and doing more than the guide is fine. If it is very difficult for you, you may decide for yourself not to do it at all — or, conversely, to do more repetitions precisely because it is difficult. What matters most is feeling your own body and adjusting as you go.
The guide does not change with the B-TUBE size (S / M).
It varies from person to person, but an inhale takes roughly 9 to 12 seconds as a guide. The length is only a guide, too — make it longer or shorter as your body feels. What matters most is to inhale deeply with no tension anywhere in your body. Without tensing your shoulders, neck or chest, inhale strongly so that the air reaches the bottom of your abdomen.
Shorter than the guide is fine, and taking longer than the guide is fine. If it is very difficult for you, you may decide for yourself to spend far more time on it than the guide suggests. What matters most is feeling your own body and adjusting the time yourself as you go.
You may breathe out through the nose or the mouth — either is fine. Relax and slowly exhale fully. There is no set number of seconds for the exhale. Calmly repeat this inhale and exhale.
Is the timing the same for S and M: because S is the narrower tube, the inhale tends to take longer. For either size, inhale strongly so the air reaches the bottom of your abdomen.
Trying to spread your fingers puts tension into the palm. Focus on letting the palm itself, not the fingers, spread out freely.
The same goes for the feet: trying to spread the toes tenses the sole, so focus on letting the sole itself, not the toes, spread out freely.
The gel or balm is applied after the breathing method to the "gel points" on your own body. Your own gel points are displayed in red in the AI coaching (application). Take the gel in your hand and apply it to the red areas shown.
Replacement gel is available at the KINETIC LAB STORE.
Before the breathing method and gel, check which side of your body is "harder" (so you can compare afterwards).
First, if you have symptoms of your own — for example a sore shoulder — check the condition of that area.
If you have no such symptoms, the pose shown in the AI coaching (application) is the one that is harder for you. Check the neck and face direction, the palms, and the feet front-back and left-right differences, then identify which side is harder and which side is easier.
This is not a check that the measurement is complete. After finishing the whole sequence — the breathing method, applying the gel, and so on — check the neck and face direction, the palms, and the feet front-back and left-right differences once more and compare with the "harder side" you found before.
Stop immediately and do not push through. Do not repeat the movement or pose that caused pain that day, and rest until you feel settled.
As a benefit for KINETIC LAB-Link users, we offer LIVE streaming of the "Kinetic Academy" seminars. You can watch the sessions from home or anywhere else.
Open "Live" in the AI coaching bottom menu and see the "Event calendar". Because streams are irregular, each one is posted there — with the date, time and viewing URL — once it is scheduled. Please check it before the event.
New streams are also announced under "Notices from support" on Home.
The streaming platform is YouTube. To watch:
Past streams may be available under "Event archive" in "Live" (not every session is kept).
For comfortable viewing, please prepare your own viewing environment. The following are not guaranteed or covered by us.
In short: start/end times and publication times may shift, and the video or audio may be disrupted or the stream interrupted or cancelled due to line, system, or other unforeseen trouble. We cannot accept liability for any resulting disadvantage or damage.
The official disclaimer is shown below in the original Japanese.
To prevent crowding and trouble, please refrain from coming to the venue. If you wish to attend a seminar in person in the future, you must apply in advance — walk-in participation is not accepted. For the steps and details, please check the page linked below.
The official notice is shown below in the original Japanese.
The B-TUBE can be purchased from the KINETIC LAB STORE.
If you purchased the dedicated sensor, 2 × size S and 2 × size M are included in the box. Please check the included B-TUBEs first.
For choosing a size see "How do I choose the B-TUBE size (S / M / L)?"; for how to use it see the breathing guide.
The B-TUBE comes in three sizes: S, M and L. The size to use each day is shown on the AI coaching Home under "Today's breathing" — follow that display rather than deciding yourself (it is not chosen by body size).
As a guide, size S is used more often when the moon is a "waxing moon" (bright on the right), and size M when it is a "waning moon" (bright on the left).
Size L is used for breathing training while playing sports and for people with weak breathing (not included in the box).
Additional B-TUBE can be purchased from the KINETIC LAB STORE.
Yes. The dedicated gel (oil) and consumables (replacement sensor heads, extra B-TUBEs, etc.) can be re-ordered from the KINETIC LAB STORE.
The dedicated gel is not included with the sensor (the box contains the dedicated sensor, quick start guide, user manual and B-TUBE S×2 / M×2). Please purchase the gel separately from the STORE.
Plan changes are not accepted. Please review your contract details for more information.
Check in this order: ① internet connection → ② logged in to AI coaching → ③ scan from "QR scan" in the bottom menu → ④ lighting, QR not dirty, whole QR inside the frame → ⑤ browser camera permission.
See "▶ The QR code won't scan." (Sending data / QR scan) for details.
If you haven't signed up for AI coaching yet, please purchase it from the KINETIC LAB STORE. After purchase, an activation code will be issued to you by email.
You can log in with your email address + password, or with a Google/Apple account. Please check the following in order.
If none of this helps, please contact us via the contact form.
When you register with an email address and password, we send a "registration confirmation email (verification email)" to confirm it's you. Opening the link in it completes your registration. If it doesn't arrive, please check the following.
@kinetic-lab.comIf it still doesn't arrive, please contact us via the contact form.
When you send your email address from "Forgot your password?" on the login screen, we send a "password reset email". You can set a new password from the link in it. If it doesn't arrive, please check the following.
If it still doesn't arrive, please contact us via the contact form.
In addition to your inbox, please check your spam/junk folder. The code is sent separately by email after you order online. If you still can't find it, please contact support.
In most cases, the surface condition of your skin is the cause. Please check the following.
The dedicated sensor is powered by the external battery via USB-C. Check in this order.
If it still won't turn on, please contact us with the purchase date and symptoms (the warranty is one year from purchase — see "How long is the sensor's warranty period?").
The sensor head at the tip is a consumable. If it is broken or worn, replace it yourself with a replacement sensor head from the KINETIC LAB STORE (consumables are not covered by the warranty).
With daily use, replacement about once every six months is recommended to keep measurements accurate.
The full Terms of Service (all 28 articles plus supplementary provisions) are on a dedicated page. By starting to use this service, you are deemed to have agreed to these Terms.
▶ Read the full KINETIC LAB-Link Terms of Service
The safety warnings (based on the Product Liability Act) and the disclaimer are gathered on a dedicated page.
No. This product and service is a tool for body analysis and is not a medical device. The displayed data and analysis results are reference values for training; they are not intended to diagnose, treat, or prevent any disease (Terms of Service, Article 3).
People who have been prohibited from exercising by a physician, or who are in poor health due to an acute illness, severe pain, fever, infection, etc., cannot use this service.
In addition, those who are pregnant (or may be), who have a pre-existing condition such as heart or cerebrovascular disease, who are post-surgery / under treatment / in rehabilitation, and the elderly or minors should consult a physician in advance and use it at their own responsibility. Minors require the consent and supervision of a person with parental authority (Terms of Service, Article 5).
If you are pregnant (or may be), consult a doctor beforehand and use the service at your own judgment and responsibility (Terms of Service, Article 5). On days you feel unwell, skip measuring, the breathing method and exercise.
This service is not a medical device or medical treatment. We cannot guarantee that it is "safe during pregnancy".
Use by minors requires the consent and supervision of a parent or guardian (Terms of Service, Article 5). For growing children, keep it within a comfortable range with a guardian present.
AI coaching is one account per user. A guardian's account cannot be shared with a child (the data would mix and the AI would no longer work correctly). A child needs a separate account (activation code).
The warranty period for the dedicated sensor unit is one year from the date of purchase. If it fails under normal use within the warranty period and we determine it to be an initial defect or product defect, we will respond with repair, replacement, or a substitute (Terms of Service, Article 8).
No. Lending, sharing, transferring, selling, or changing the name on your account, usage rights, remaining period, measurement data, or analysis results to a third party is prohibited (Terms of Service, Articles 11 and 16).
The AI cloud service is offered as monthly, annual, multi-year, prepaid, and other plans. With auto-renewal, it renews unless you cancel by the specified deadline (Terms of Service, Article 10).
To the extent necessary to provide the service, we collect and use registration information, measurement data, analysis results, technical information, and the like for purposes such as service provision, analysis, billing, improvement, and fraud prevention. The handling of personal information follows the separately established Privacy Policy (Terms of Service, Article 12).
By the nature of the service, body and measurement data are transmitted over the internet to us or to a cloud environment. Except where required by law or for outsourced operations, we do not provide it to third parties (Article 13).
Even where we bear liability for damages, the amount is, in principle, capped at the total usage fees you paid in the most recent 12 months. Special damages, indirect damages, lost profits, data loss, and the like are, in principle, not covered.
No matching question found
Try a different keyword, or use the contact form below.
If you couldn't solve it, please get in touch through the contact form.

